Hackerman
Well-Known Member
- Joined
- Apr 18, 2014
- Messages
- 3,030
- Reaction score
- 286
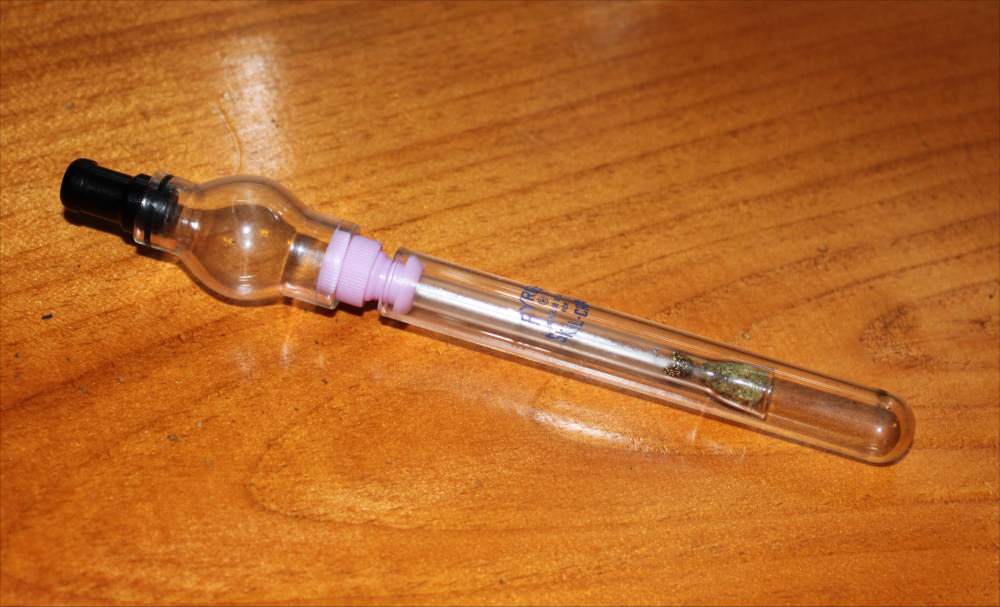
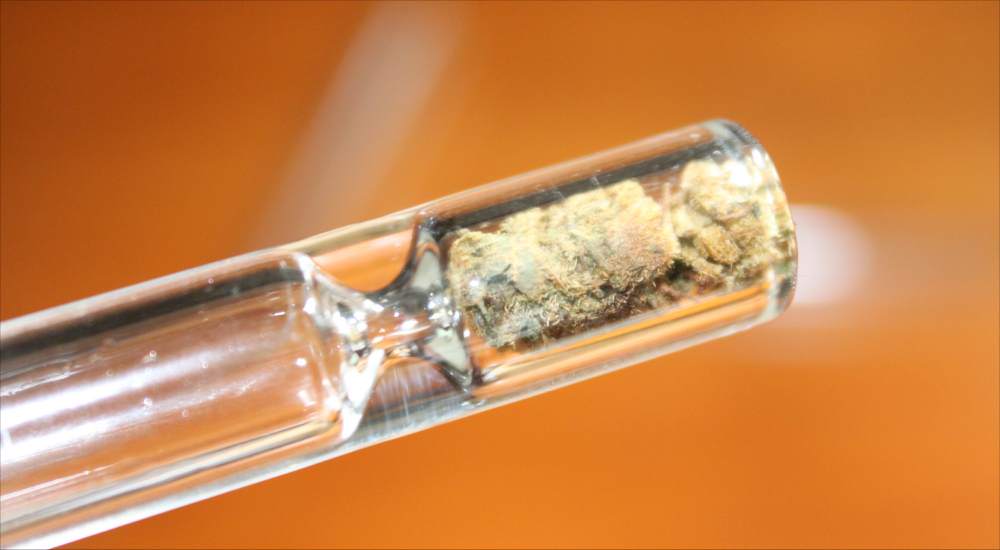
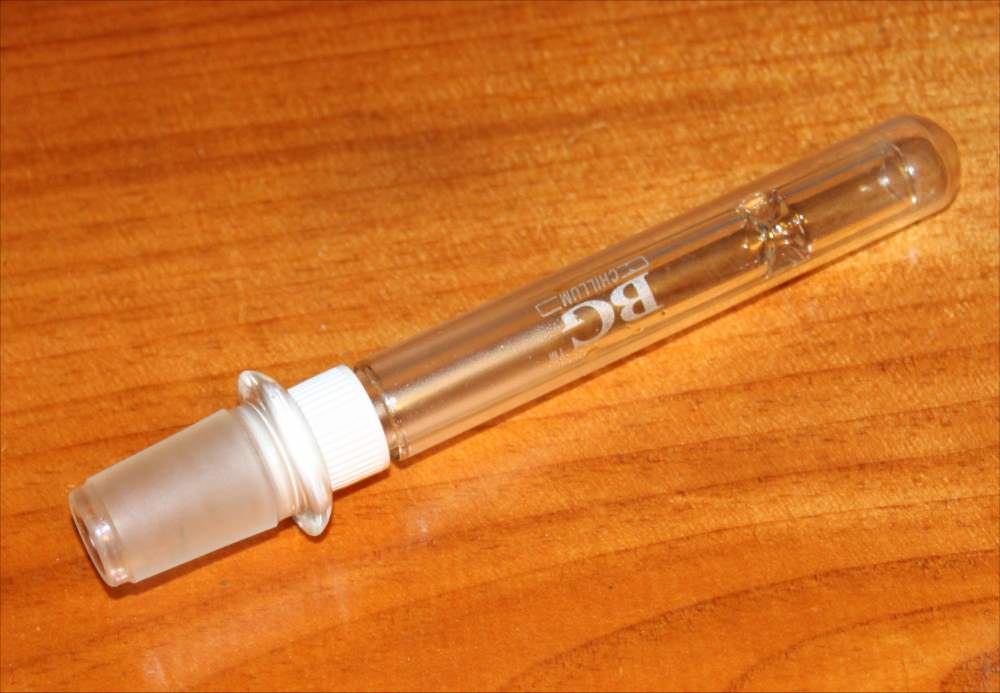
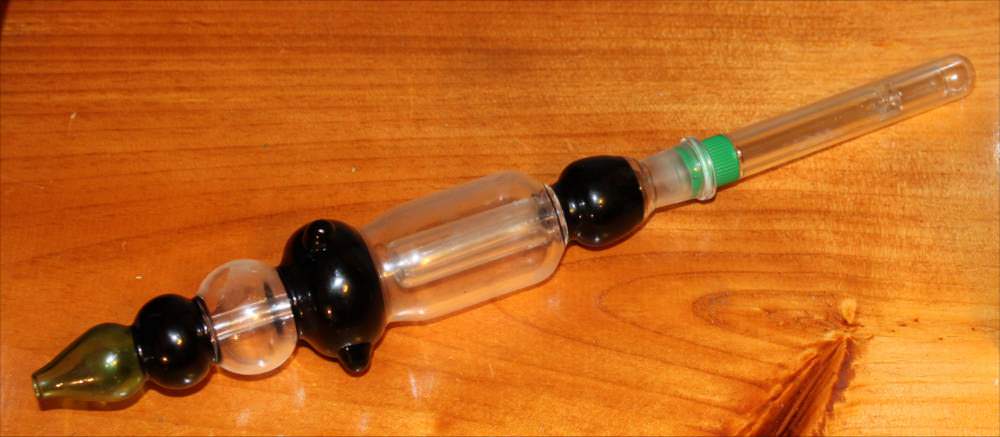
I bought one of these from Vaponic and it it absolutely my favorite 'butane' vape. The Vapcap is nice too but the flavor is way better in the Vaponic and once it it heated, It's good for 4 or 5 hits.
And, as it is with many vapes, the taste changes with each hit.
If you don't vape, here is something cool about vaping with a convection vape.....
The first hit is lowest temp (about 225F to 325F) so the low temp terps vape off first. This is the 300F range terps like Alpha Pinene and Beta Caryophyllene that give that fruity and piney tastes. Theses same terps also provide the 'up' in cannabis Sativa. This is also the range where most THC and CBD is vaped off.
Because the glass vape works on convection, like a convection oven, each hit gets a little hotter as your draw creates air passing through the heated glass chamber.
So, the next hit (325F to 350F) is the middle temp terps like Myrcene and Limonene. These provide the 'mediciney' taste. And, also, these provide the calming and sedative effect usually related to Cannabis Indica.
Finally, the last hit, (350F to 450F) which I usually don't even take. This is the terpineol and CBC that provide the sedative effects of Cannabis. Can you say couch lock. LOL
So, you can actually have some control over your buzz with a vaporizer, regardless of whether it is an Indica or Sativa.
Plus, the taste is the most incredible in my 50 years of cannabis use. And, some of you know me and it's all about the flavor for me.
OK, now that you understand HOW a convection vaporizer works, let's make one.
2 things, First, here is a link to the Vaponic from which I stole the idea to make this one. If you don't want to DIY one, I really recommend Vaponic. Their service was good and I love the product. The down side is that they only sell via their web site and it ships from Spain and takes a couple weeks. No eBay or Amazon sales that I could find. http://www.vaponic.com/ Check out the video showing how it works.
And, second. If you're an ex-crackhead, "butane style" vapes are probably not for you. LOL They look very 'crackesque' and if you're in an illegal state, you might want to keep usage of your butane vape at home. People look at you pretty ugly when they see you using a butane vape. LOL
OK, with all that said, let us proceed.
I am still in the beta phase so things will probably change but, so far, here we are.
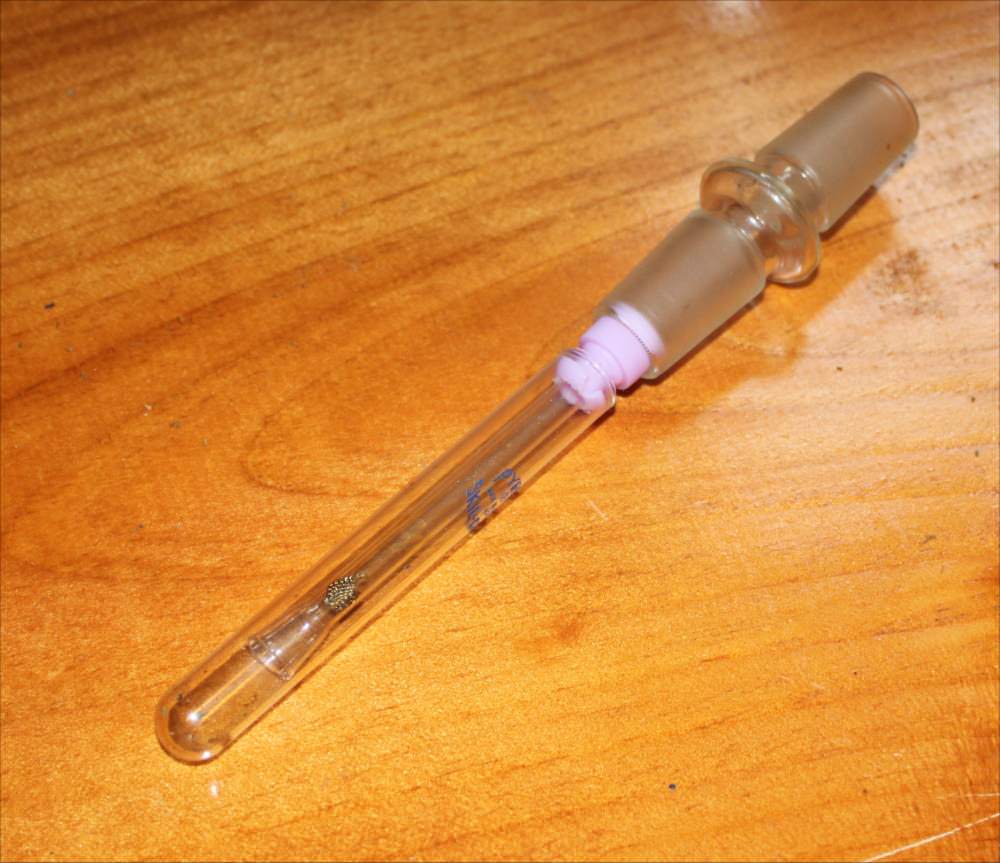
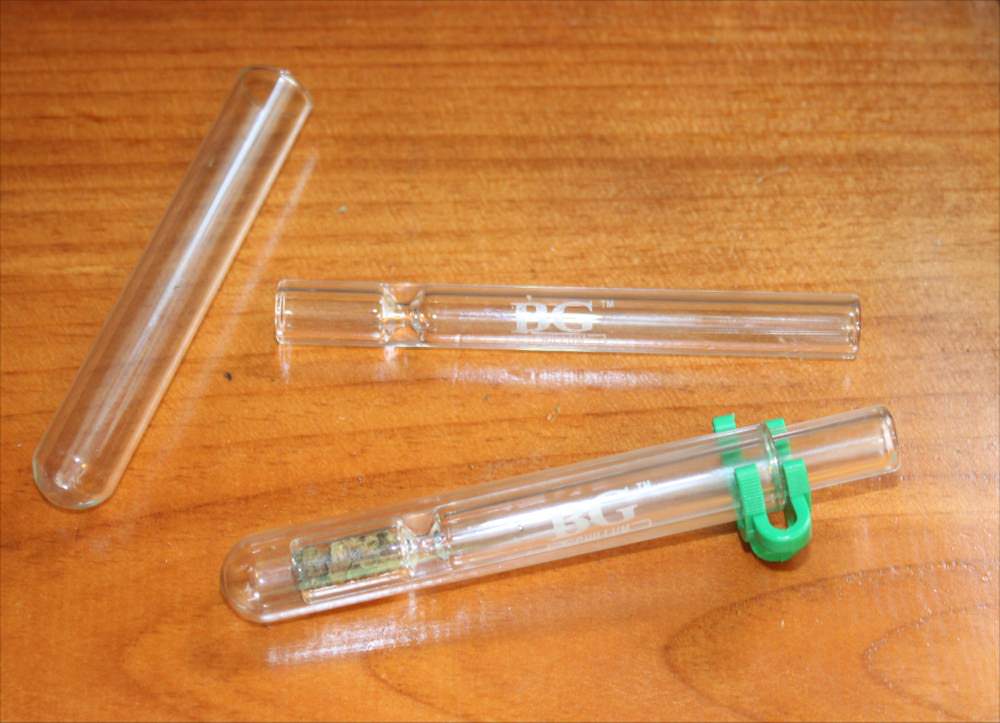
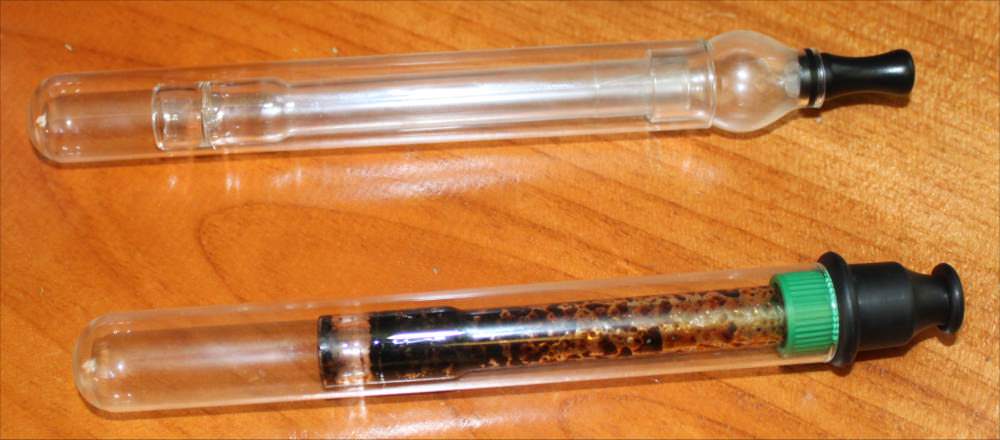
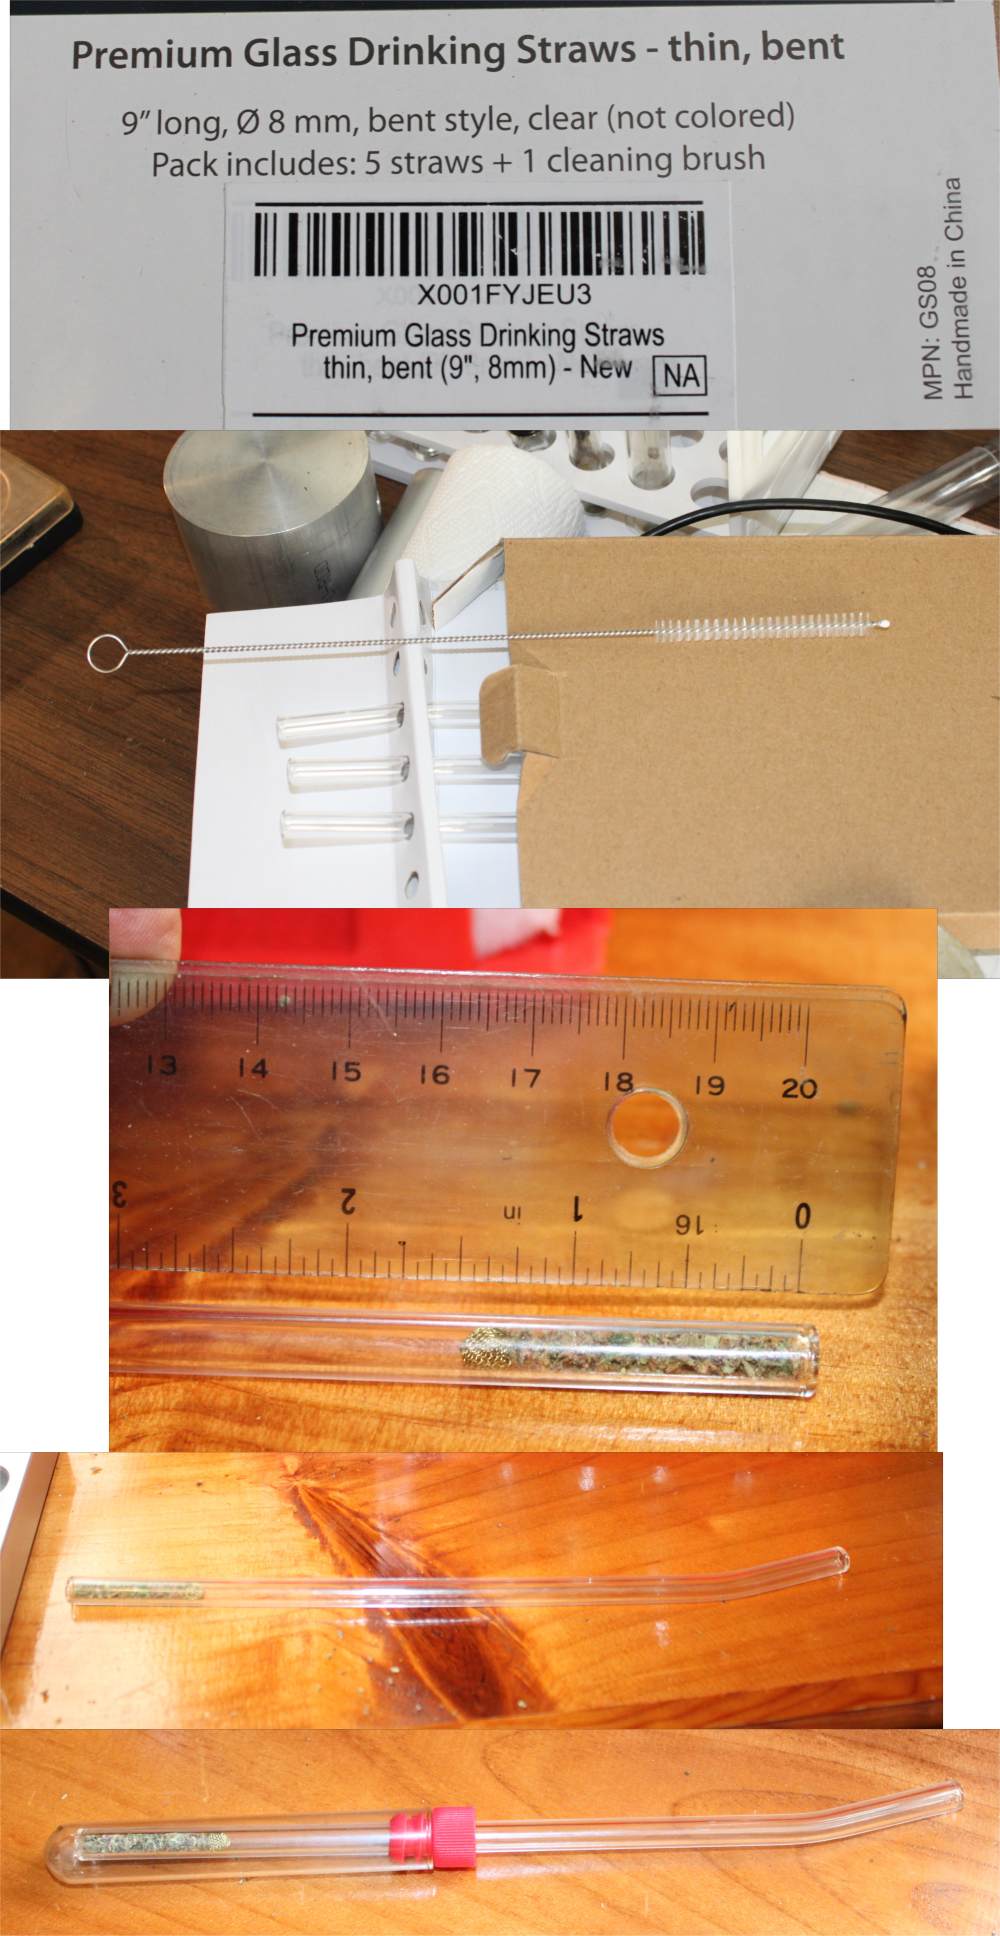
Here is the main stem..... https://www.ebay.com/itm/Traditiona...303756?hash=item3b0dc8570c:g:CggAAOSw4CFYpHVm
I don't know what that CTGAR word means but if you search it, you'll find plenty of different sources. Also, "glass cigarette holder" will result.
These are only a few cents each when purchased direct from China in small quantities. Usually under a dollar on eBay and Amazon.

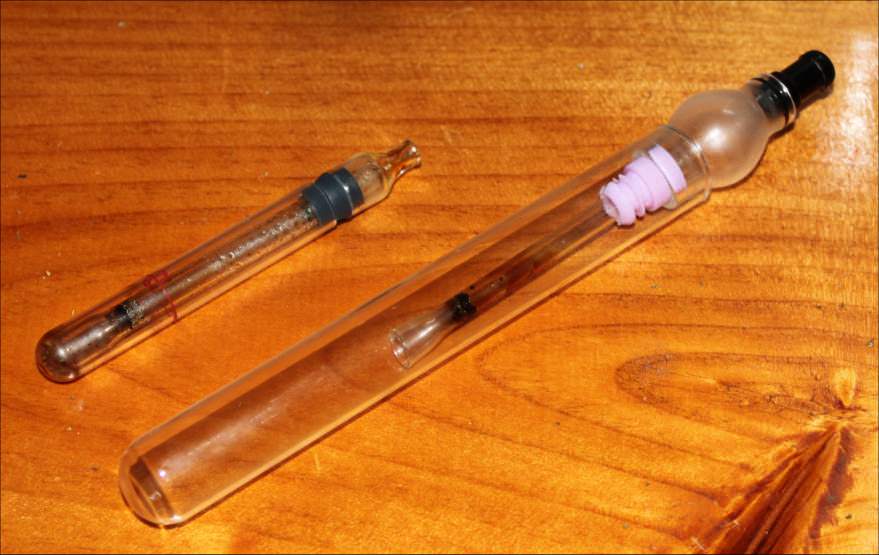
Eventually, it might be cool to use something a little more showy like these.

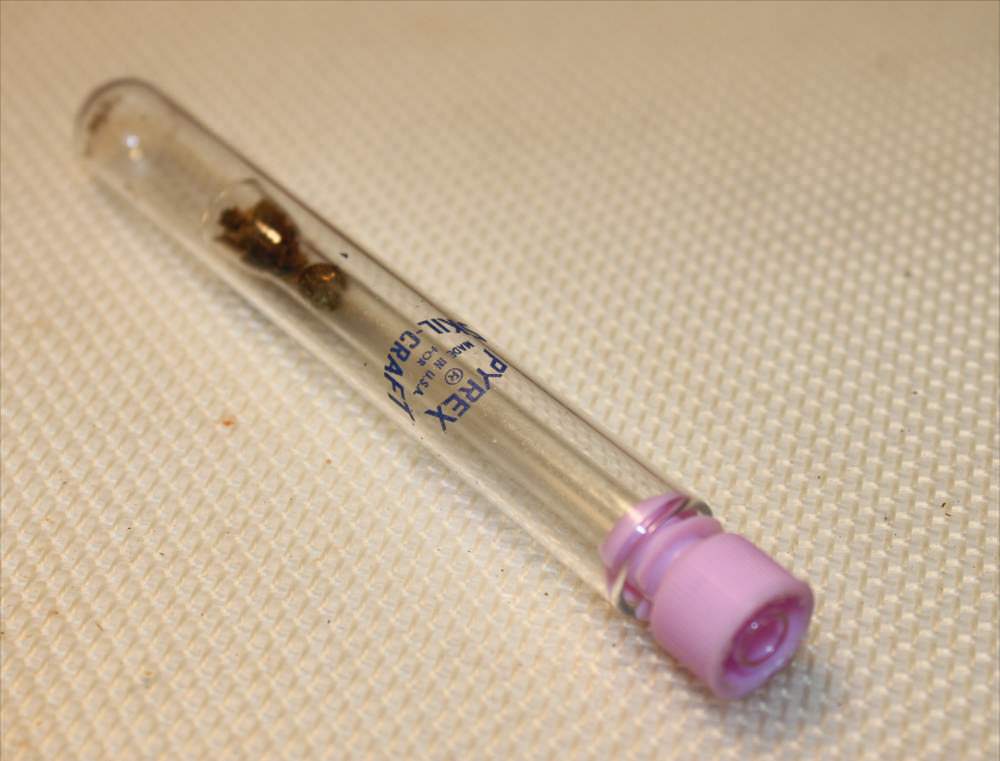
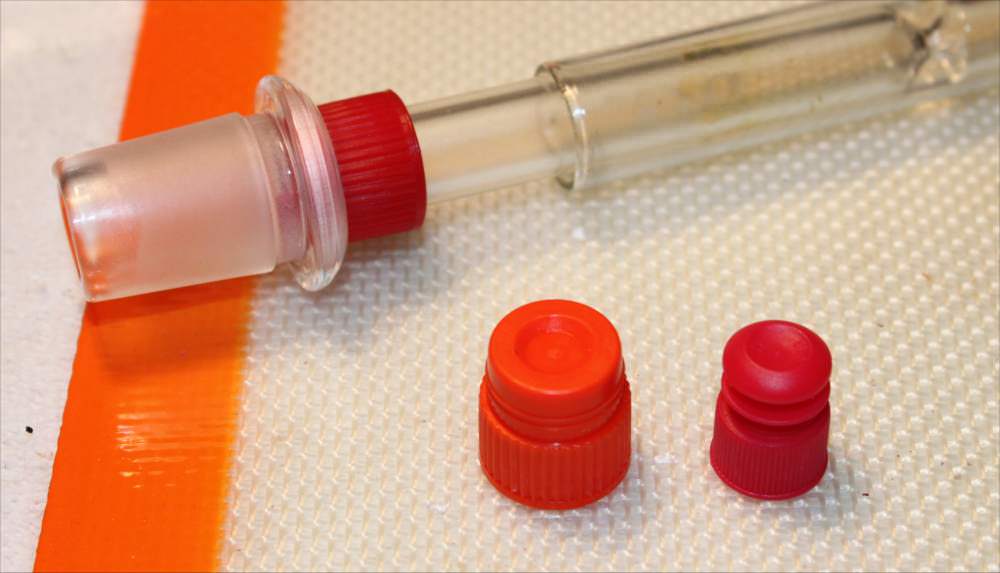
The outside shell is just a test tube with a rubber stopper....
https://www.ebay.com/itm/16x100mm-Glass-Test-Tube-With-16mm-Rubber-Stopper-Black-Pack-1-Free-Shipping/272665582026?ssPageName=STRK:MEBIDX:IT&_trksid=p2057872.m2749.l2649
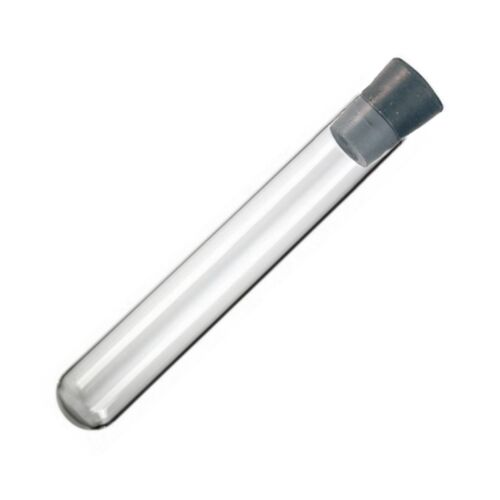
This one is 16mm x 100mm. I will be trying different outer tubes. The Vaponic is 75mm long rather than 100mm and it is 2mm thick rather than the standard 1mm thick as is common with most test tubes.
This will mean that it will heat up faster but it will also cool down faster. Not real sure yet how this will affect the flavor.
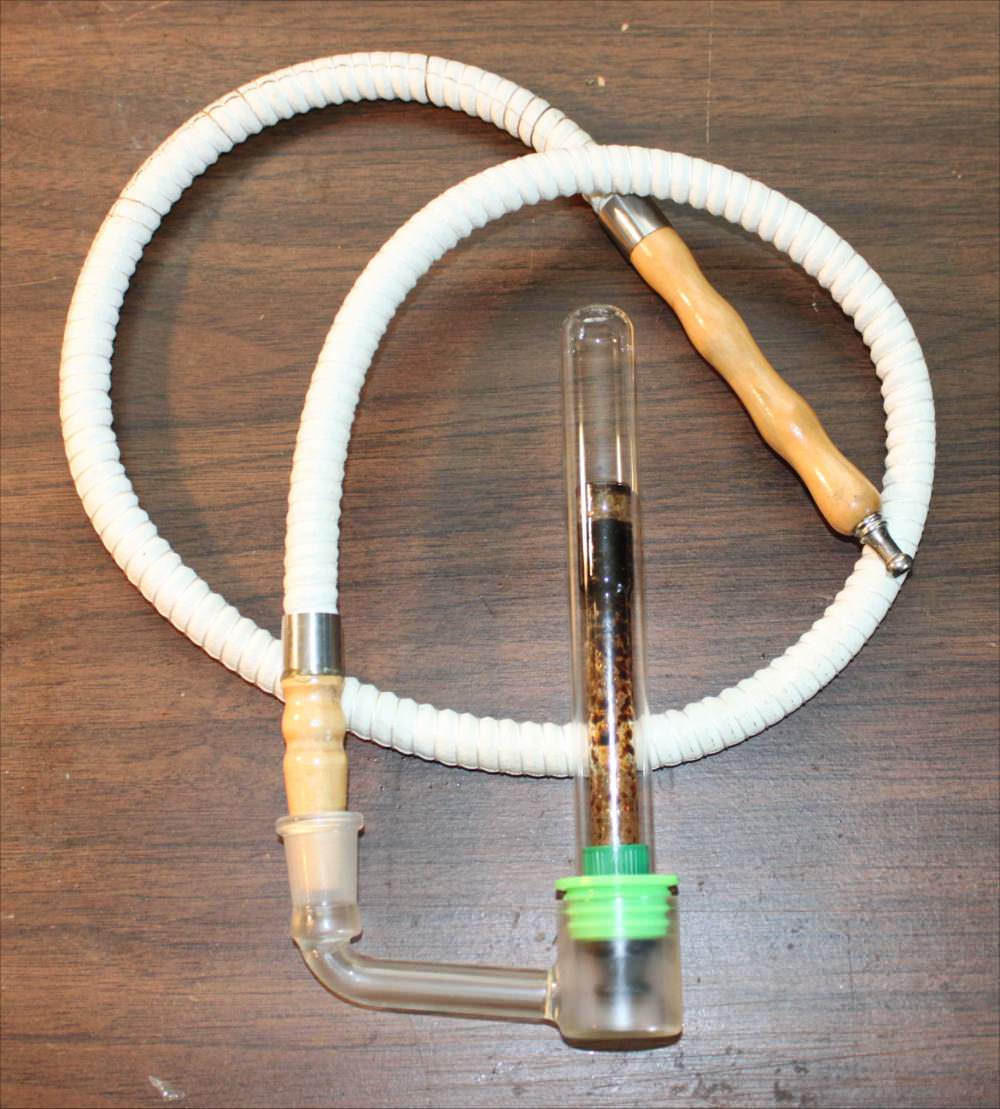
The rest is simple. Place the screen in the tube, cut 2 grooves on either side of the rubber stopper to allow air to enter the tube and.... bingo, you're vaping.
EDIT: I just noticed that the rubber stopper on the test tubes I ordered have 2 holes. That might work to eliminate the 2 grooves on the sides. I will let you know when I receive the stoppers. So far, I have been using test tubes I had laying around.
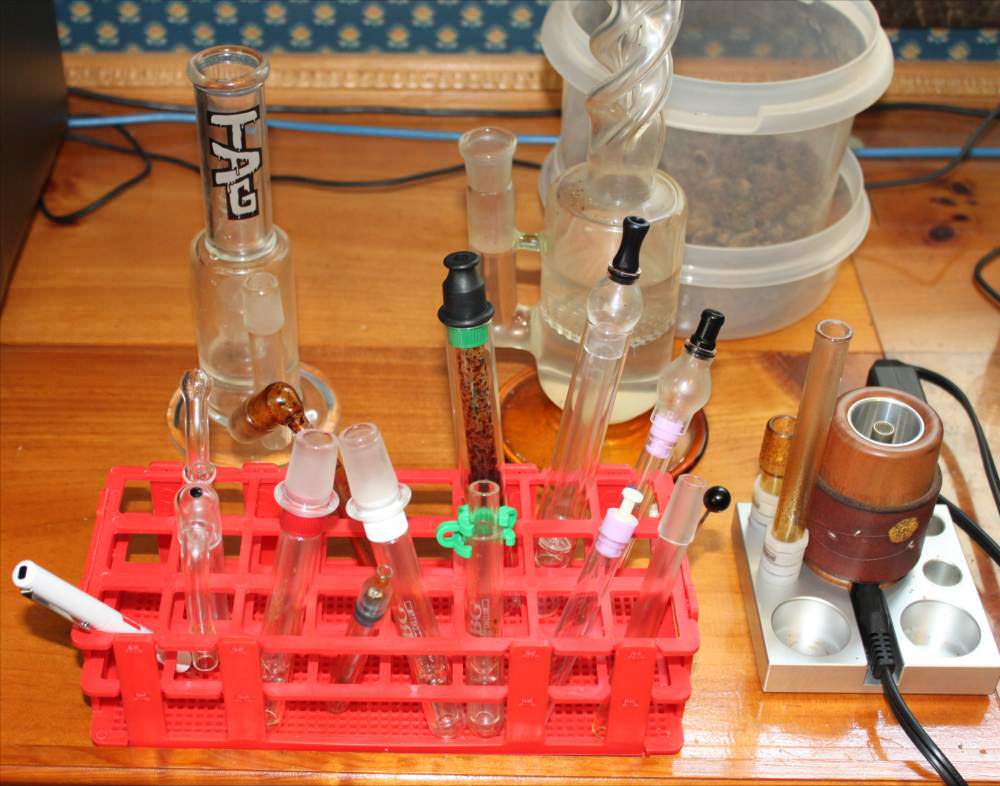
I'll post more and keep you updated on my results until we find the best DIY.
Still, this is an awesome vape for almost no money. Just thought I would pass it on.
Peace.
And, as it is with many vapes, the taste changes with each hit.
If you don't vape, here is something cool about vaping with a convection vape.....
The first hit is lowest temp (about 225F to 325F) so the low temp terps vape off first. This is the 300F range terps like Alpha Pinene and Beta Caryophyllene that give that fruity and piney tastes. Theses same terps also provide the 'up' in cannabis Sativa. This is also the range where most THC and CBD is vaped off.
Because the glass vape works on convection, like a convection oven, each hit gets a little hotter as your draw creates air passing through the heated glass chamber.
So, the next hit (325F to 350F) is the middle temp terps like Myrcene and Limonene. These provide the 'mediciney' taste. And, also, these provide the calming and sedative effect usually related to Cannabis Indica.
Finally, the last hit, (350F to 450F) which I usually don't even take. This is the terpineol and CBC that provide the sedative effects of Cannabis. Can you say couch lock. LOL
So, you can actually have some control over your buzz with a vaporizer, regardless of whether it is an Indica or Sativa.
Plus, the taste is the most incredible in my 50 years of cannabis use. And, some of you know me and it's all about the flavor for me.
OK, now that you understand HOW a convection vaporizer works, let's make one.
2 things, First, here is a link to the Vaponic from which I stole the idea to make this one. If you don't want to DIY one, I really recommend Vaponic. Their service was good and I love the product. The down side is that they only sell via their web site and it ships from Spain and takes a couple weeks. No eBay or Amazon sales that I could find. http://www.vaponic.com/ Check out the video showing how it works.
And, second. If you're an ex-crackhead, "butane style" vapes are probably not for you. LOL They look very 'crackesque' and if you're in an illegal state, you might want to keep usage of your butane vape at home. People look at you pretty ugly when they see you using a butane vape. LOL
OK, with all that said, let us proceed.
I am still in the beta phase so things will probably change but, so far, here we are.
Here is the main stem..... https://www.ebay.com/itm/Traditiona...303756?hash=item3b0dc8570c:g:CggAAOSw4CFYpHVm
I don't know what that CTGAR word means but if you search it, you'll find plenty of different sources. Also, "glass cigarette holder" will result.
These are only a few cents each when purchased direct from China in small quantities. Usually under a dollar on eBay and Amazon.

Eventually, it might be cool to use something a little more showy like these.

The outside shell is just a test tube with a rubber stopper....
https://www.ebay.com/itm/16x100mm-Glass-Test-Tube-With-16mm-Rubber-Stopper-Black-Pack-1-Free-Shipping/272665582026?ssPageName=STRK:MEBIDX:IT&_trksid=p2057872.m2749.l2649

This one is 16mm x 100mm. I will be trying different outer tubes. The Vaponic is 75mm long rather than 100mm and it is 2mm thick rather than the standard 1mm thick as is common with most test tubes.
This will mean that it will heat up faster but it will also cool down faster. Not real sure yet how this will affect the flavor.
The rest is simple. Place the screen in the tube, cut 2 grooves on either side of the rubber stopper to allow air to enter the tube and.... bingo, you're vaping.
EDIT: I just noticed that the rubber stopper on the test tubes I ordered have 2 holes. That might work to eliminate the 2 grooves on the sides. I will let you know when I receive the stoppers. So far, I have been using test tubes I had laying around.
I'll post more and keep you updated on my results until we find the best DIY.
Still, this is an awesome vape for almost no money. Just thought I would pass it on.
Peace.
Last edited:


